تسجيل دخول
مساعدك الذكي
اكتشف
برنامج المكافآت
برنامج التسويق
الاشتراكات
تسجيل دخول
الأردن
English
متوفر على
Google Play
متوفر على
App Store
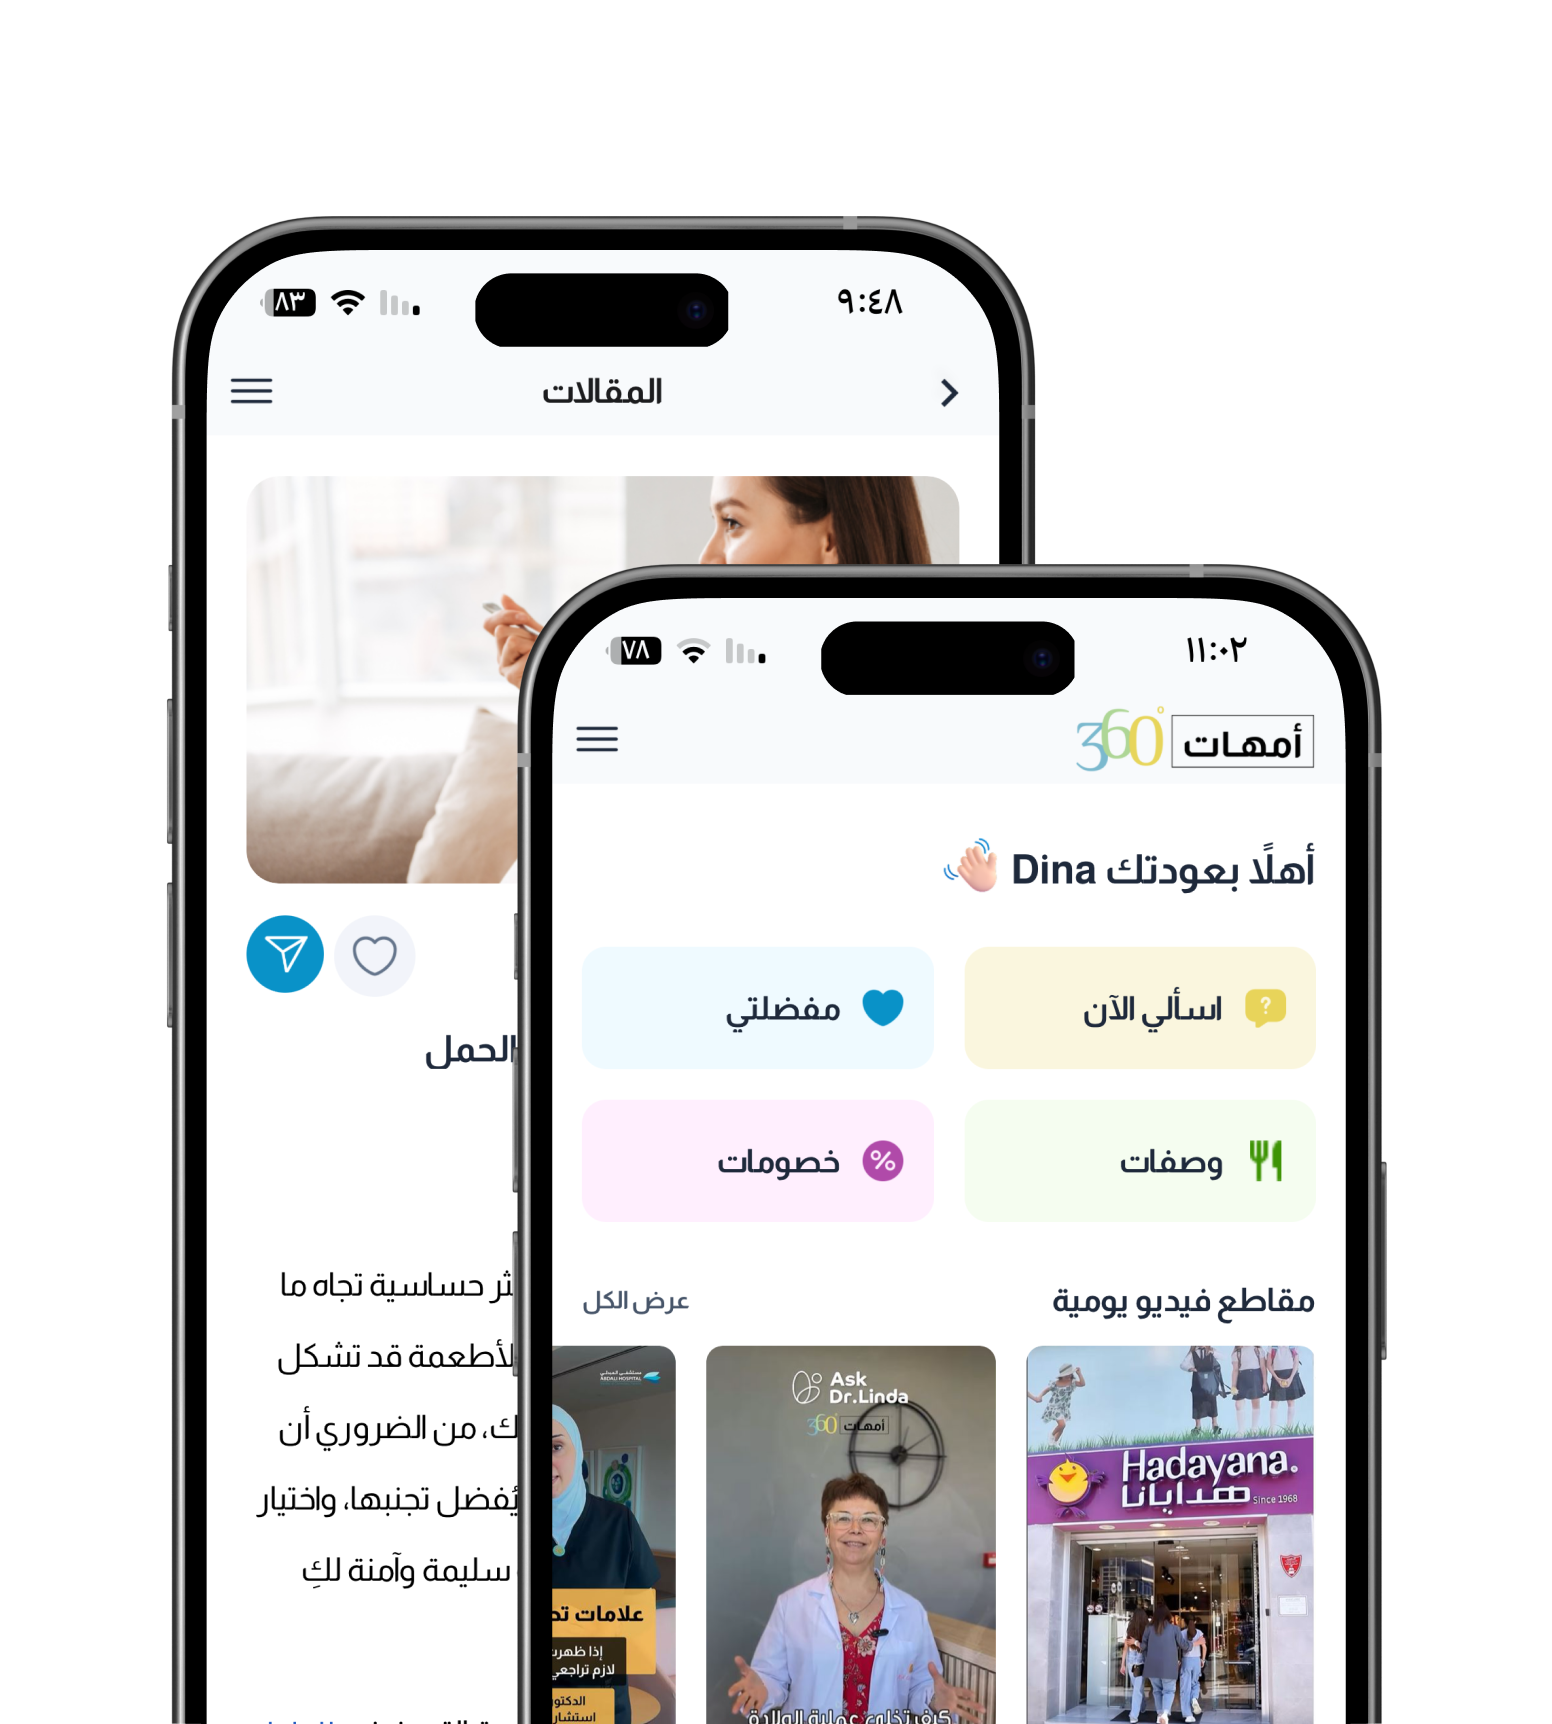
أنتم لستم وحدكم، نحن معكم في كل خطوة.
حمّلوا تطبيق 360Moms وانضموا إلى مجتمع يضم أكثر من 100,000 عائلة، لدعمكم في رحلة الأبوة والأمومة.
متوفر على
Google Play
متوفر على
App Store
/
/
Article Not Found